
Tutorial
AVCLabs Video Blur AI is an advanced AI-powered tool that automatically blurs faces, license plates, backgrounds, and removes people, watermarks, or any part of a video with just a few clicks.


Warm reminder: The free trial of AVCLabs Video Blur AI offers all features, but output videos will include a watermark. To enjoy unlimited access and remove these restrictions, we kindly recommend purchasing the full version.
Part 1: How Blur Faces, License Plates, Backgrounds or Any Other Objects in Video?
Launch AVCLabs Video Blur AI
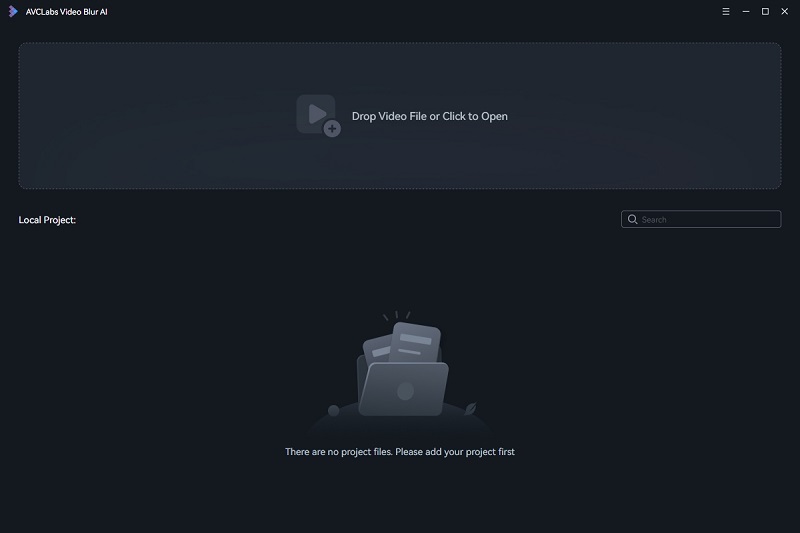
Launch AVCLabs Video Blur AI and you will enter the main window shown as below.
Import Video
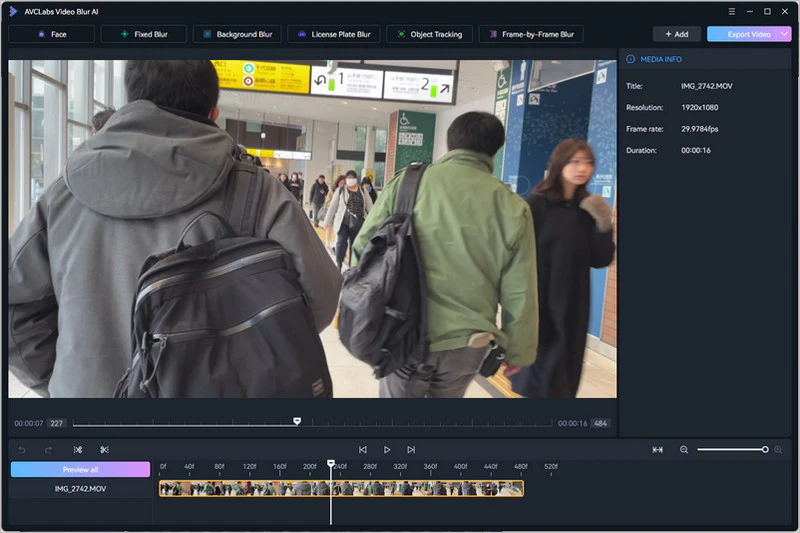
Click the "Drop Video File or Click to Open" button or drag and drop to import a video. The video edit toolbar provides a trimming tool to trim off the beginning and the end of the video if you don't need them.
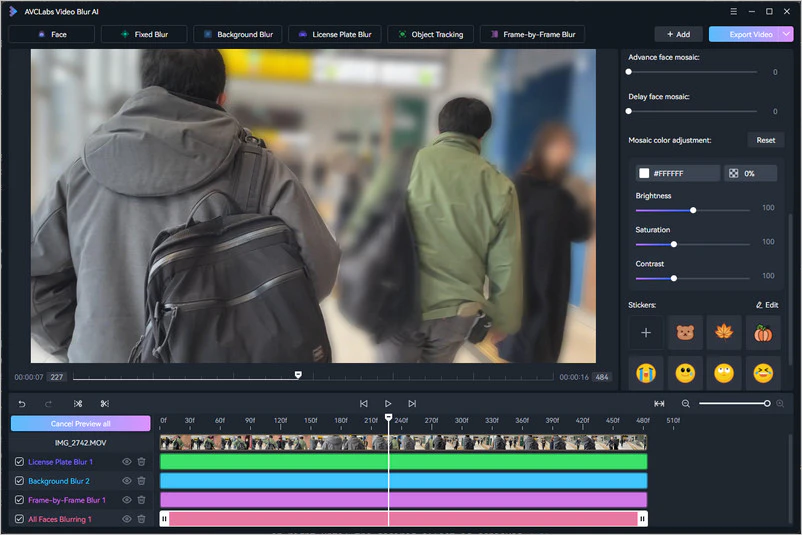
Click the "Complete timeline" button in the lower right corner above the timeline to display the complete timeline so as to visually check the position of the added effects.
Add Blur Tasks
AVCLabs Video Blur AI has an array of powerful blur features, including Face Blur, Fixed Blur, Background Blur, License Plate Blur, and Object Tracking.

Simply click at the top of the program to select one or more blur features to start the blurring project.
Configure Blur Task Settings
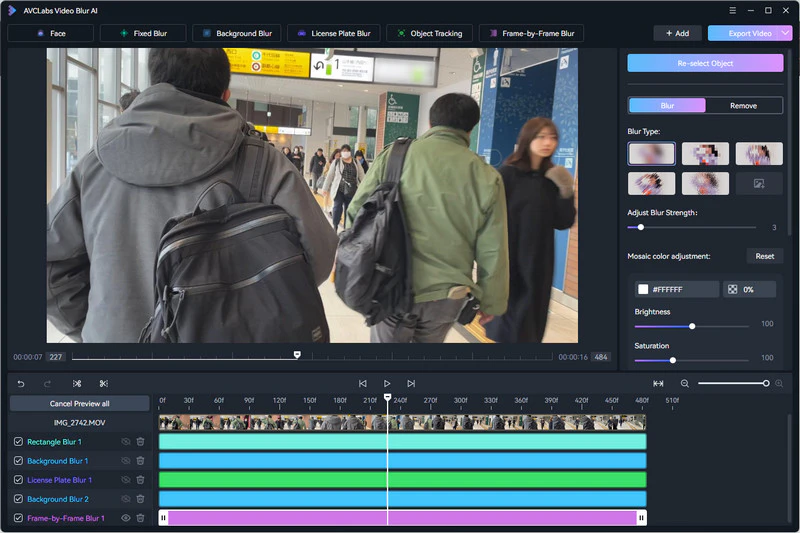
After adding blur tasks, you can easily modify each one as needed.
1. Trimming
To modify a blur task, right-click on the timeline panel at the bottom.
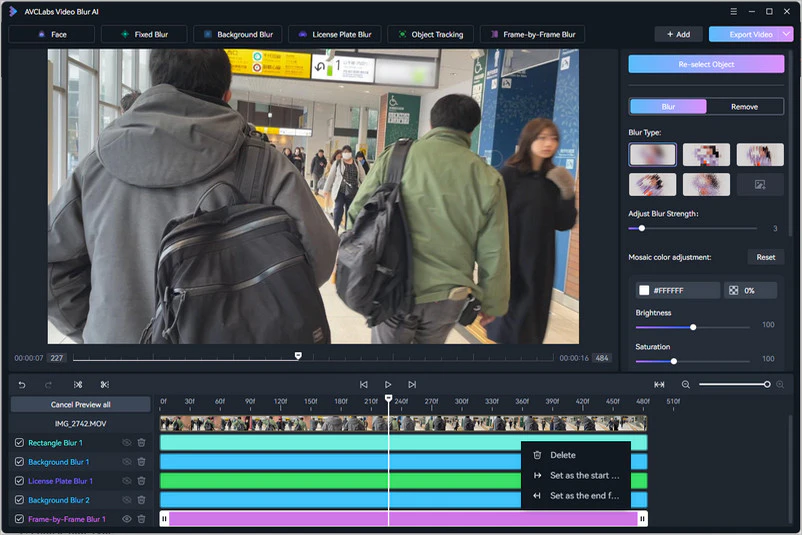
Delete: Remove the current blur task.
Set as Start Frame: Move the playhead to the desired start frame in the sequence, right-click on the timeline and choose "Set as Start Frame."
Set as End Frame: Move the playhead at the end point, right-click on the timeline, and select "Set as End Frame."
2. Choose Blur Type
Import Image to Blur Face: In "Custom Selection" mode, you can also import a local photo to help blur faces. Just upload an image on the left panel. Click to confirm after detection. You can choose to blur the matched face or invert the selection to blur others.
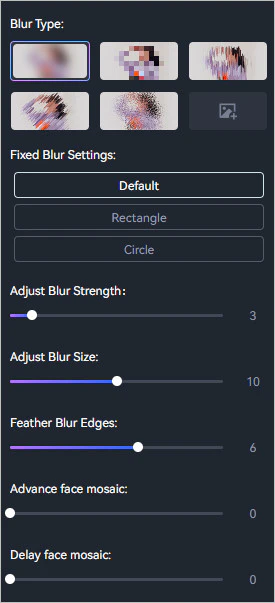
3. Fine-Tune Mosaic Type
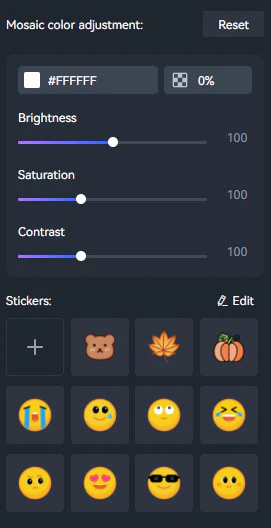
Fine-tune your blur effect with a variety of adjustable options. Use the sliders to control different aspects of the blur:
Adjust Blur Strength: Increase or decrease the intensity of the blur.
Adjust Blur Size: Adjust the size of the blurred area.
Feather Edges: Soften the edges of the blur for a smoother transition.
Advanced Face Mosaic: Modify how facial mosaic effects are applied for more precise anonymization.
Delay Face Mosaic: Add a time delay before the face blur begins, useful for dynamic scenes.
Each setting can be adjusted in real time by dragging the slider left or right until the desired effect is achieved.
Preview
As soon as a blur task is added, the program switches to preview mode automatically, allowing you to instantly view the applied blur effect. To exit this mode, simply click the "Cancel Preview All" button. If you want to preview a specific blur task individually, click the Eye icon next to that task.
Start Export
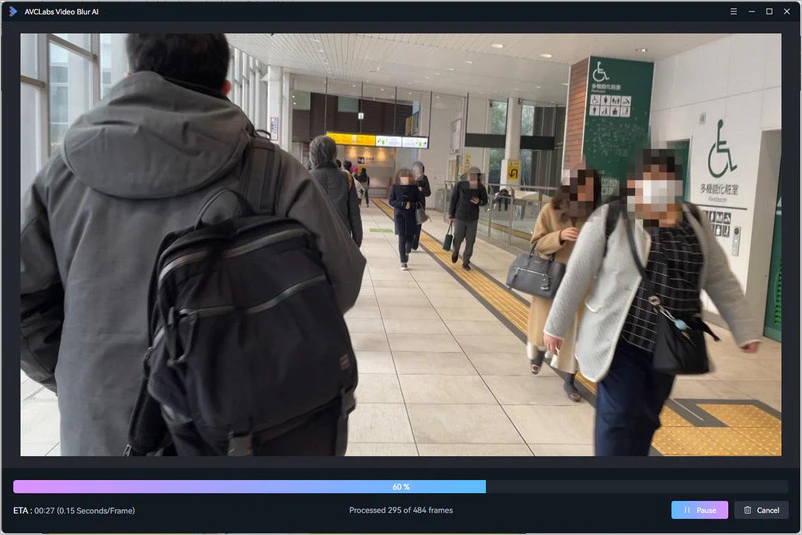
If you are pleased with the applied blur effect, simply click the "Export Video" button located at the top right corner to start the export process for your video blur project.
To save time on future projects, click the "Export Mask" button to save this blur removal setup as a reusable template.
Part 2: How to Remove People, Watermarks, Texts or Any Other Objects from Video?
Import Video to Remove
Launch AVCLabs Video Blur AI and import the video you want to remove objects from. You can either click the "Drop Video File or Click to Open" button or drag and drop the video into the program.
Add Object Removal Tasks
AVCLabs Video Blur AI has 2 video object removal modes - Fixed Removal and Object Tracking Removal. They are located in the Fixed Blur and Object Tracking panels respectively on the top of the program.
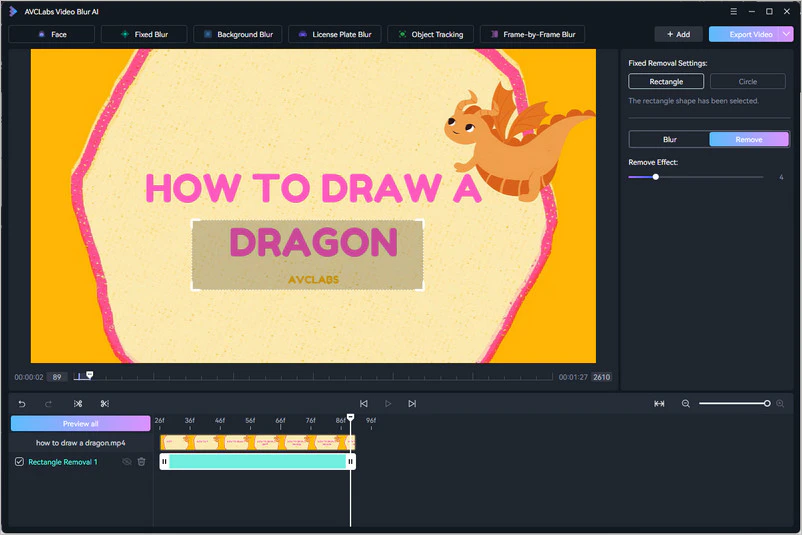
To start a project, simply click on one of the panels. If both removal modes need to be added, or multiple objects need to be removed, simply add them one after the other.
Edit Object Removal Task (Setting)
1. Select Removal Type
You have 2 options to remove objects from video in Fixed Blur and Object Tracking panels. Then, switch "Blur" to "Remove" mode on the right.
2. Modify Mask Position
Fixed Removal: Switch the pop-up mask between Rectangle and Ellipse, and move it to cover the object you want to remove.
Object Tracking Removal: Use the mouse to expand or subtract the selection area once the AI analysis is finished.
You can reverse the removal effect to add in the unselection area by changing Selection Mode on the right.
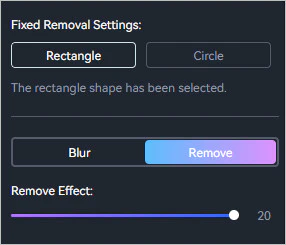
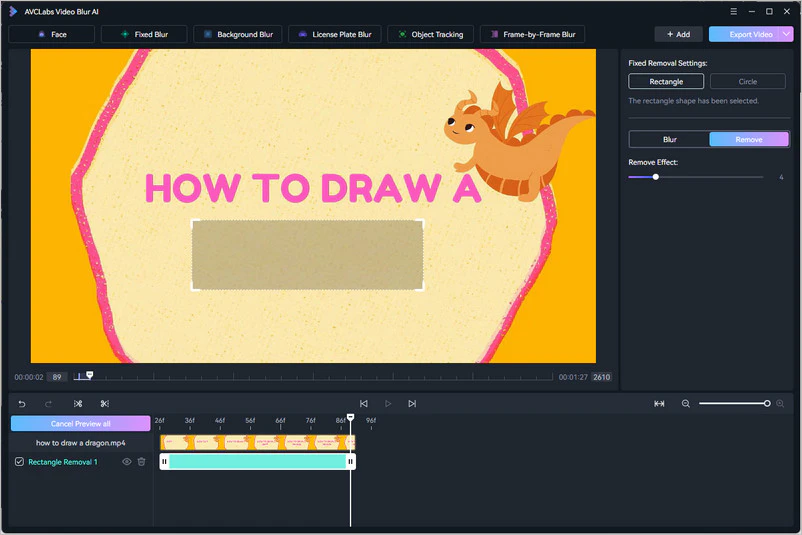
Export Video
Turn on "Preview all" button to check the removed result. Once you have completed the object removal tasks, you can export the modified video by clicking the "Export Video" button.
 Hot Products


Hero Products
Highly Recommended

AVCLabs Video Blur AI
Video blur and face blur app to blur background, faces or any part of a video.
View Details FAQ
